Understanding Node.js Package Manager
Day 39 of 60: Understanding Node.js Package Manager
Node.js Package Manager :
Node Package Manager provides two main functionalities:
It provides online repositories for node.js packages/modules which are searchable on search.nodejs.org
It also provides command line utility to install Node.js packages, do version management and dependency management of Node.js packages.
The npm comes bundled with Node.js installables in versions after that v0.6.3. You can check the version by opening Node.js command prompt and typing the following command:
- npm version
Installing Modules using npm :
Following is the syntax to install any Node.js module:
- npm install <Module Name\>
Let's install a famous Node.js web framework called express:
Open the Node.js command prompt and execute the following command:
- npm install express
Global vs Local Installation :
By default, npm installs dependency in local mode.
Here local mode specifies the folder where Node application is present.
For example if you installed express module, it created node_modules directory in the current directory where it installed express module.
Globally installed packages/dependencies are stored in system directory.
Let's install express module using global installation.
Although it will also produce the same result but modules will be installed globally.
Open Node.js command prompt and execute the following code:
npm install express -g
Uninstalling a Module :
To uninstall a Node.js module, use the following command:
- npm uninstall express
The Node.js module is uninstalled. You can verify by using the following command:
- npm ls
You can see that the module is empty now.
Searching a Module :
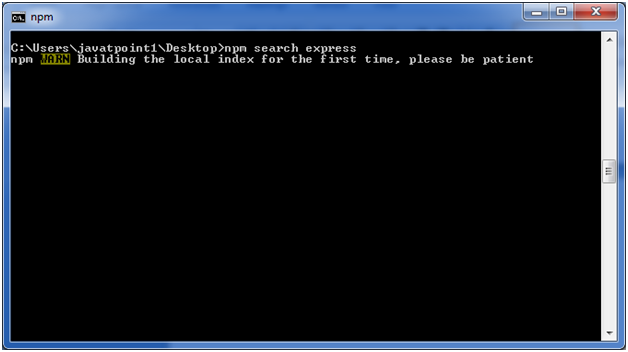
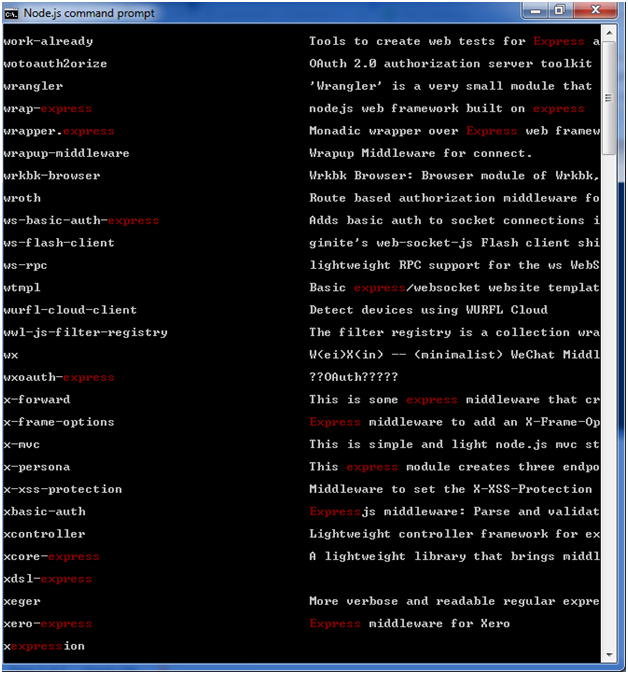
"npm search express" command is used to search express or module.
- npm search express


Node.js Command Line Options :
There is a wide variety of command line options in Node.js. These options provide multiple ways to execute scripts and other helpful run-time options.
Let's see the list of Node.js command line options:
| Index | Option | Description |
| 1. | v, --version | It is used to print node's version. |
| 2. | -h, --help | It is used to print node command line options. |
| 3. | -e, --eval "script" | It evaluates the following argument as JavaScript. The modules which are predefined in the REPL can also be used in script. |
| 4. | -p, --print "script" | It is identical to -e but prints the result. |
| 5. | -c, --check | Syntax check the script without executing. |
| 6. | -i, --interactive | It opens the REPL even if stdin does not appear to be a terminal. |
| 7. | -r, --require module | It is used to preload the specified module at startup. It follows require()'s module resolution rules. Module may be either a path to a file, or a node module name. |
| 8. | --no-deprecation | Silence deprecation warnings. |
| 9. | --trace-deprecation | It is used to print stack traces for deprecations. |
| 10. | --throw-deprecation | It throws errors for deprecations. |
| 11. | --no-warnings | It silence all process warnings (including deprecations). |
| 12. | --trace-warnings | It prints stack traces for process warnings (including deprecations). |
| 13. | --trace-sync-io | It prints a stack trace whenever synchronous i/o is detected after the first turn of the event loop. |
| 14. | --zero-fill-buffers | Automatically zero-fills all newly allocated buffer and slowbuffer instances. |
| 15. | --track-heap-objects | It tracks heap object allocations for heap snapshots. |
| 16. | --prof-process | It processes V8 profiler output generated using the v8 option --prof. |
| 17. | --V8-options | It prints V8 command line options. |
| 18. | --tls-cipher-list=list | It specifies an alternative default tls cipher list. (requires node.js to be built with crypto support. (default)) |
| 19. | --enable-fips | It enables fips-compliant crypto at startup. (requires node.js to be built with ./configure --openssl-fips) |
| 20. | --force-fips | It forces fips-compliant crypto on startup. (cannot be disabled from script code.) (same requirements as --enable-fips) |
| 21. | --icu-data-dir=file | It specifies ICU data load path. (Overrides node_icu_data) |
Node.js Command Line Options Examples
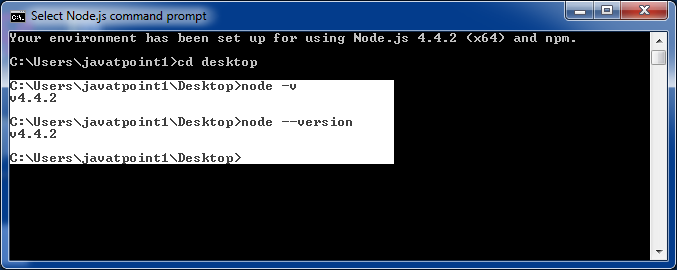
To see the version of the running Node:
Open Node.js command prompt and run command node -v or node --version

Folder Avaliable in package :
1)Node Modules folder
In the context of Node.js, the node_modules folder is a directory that typically resides in the root of a Node.js project.
It is used to store the dependencies (external libraries or packages) that your Node.js project relies on.
When you install a package using the Node Package Manager (npm) or another package manager, the corresponding modules are downloaded and placed in the node_modules folder.
Here’s why the node_modules folder is important:
Dependency Management: Node.js projects often rely on third-party libraries or modules to provide functionality. These dependencies are listed in a project’s package.json file, and the node_modules folder is where these dependencies are stored.
Isolation: Each Node.js project can have its own set of dependencies in the node_modules folder. This ensures that different projects can use different versions of the same library without interfering with each other. Each project's dependencies are self-contained in its own node_modules directory.
Ease of Sharing and Distribution: When you share your Node.js project with others or deploy it to a server, you can include the package.json file, and others can easily install the required dependencies by running the npm install command. The node_modules folder is typically excluded from version control systems (e.g., Git) to keep the repository size manageable, as dependencies can be easily installed based on the package.json file.
Version Control and Build Artifacts: As mentioned earlier, the node_modules folder is often excluded from version control to avoid cluttering repositories with a large number of files. Instead, developers typically include only the package.json file, and others can use it to install the necessary dependencies.
2)Package_lock.json:
The Role of package-lock.json:
1. Dependency Locking:
package-lock.json is an auto-generated file that provides a detailed, deterministic record of the dependency tree.
It locks down the specific versions of every installed package, preventing unintended updates.
2. Version Consistency:
This file ensures that every developer working on the project, as well as the CI/CD system, uses the exact same versions of dependencies.
Guarantees consistent builds across different environments, avoiding “it works on my machine” issues.
3. Improved Installation Speed:
package-lock.json optimizes dependency installation by storing a flat node_modules structure, reducing the need for deep dependency resolution during installation.
This results in faster and more reliable installations.
Below is how a typical package-lock.json file looks:
{
    "name": "Your project name",
    "version": "1.0.0",
    "lockfileVersion": 1,
    "requires": true,
    "dependencies": {
        "dependency1": {
            "version": "1.4.0",
            "resolved":
"https://registry.npmjs.org/dependency1/-/dependency1-1.4.0.tgz",
            "integrity":
"sha512-a+UqTh4kgZg/SlGvfbzDHpgRu7AAQOmmqRHJnxhRZICKFUT91brVhNNt58CMWU9PsBbv3PDCZUHbVxuDiH2mtA=="
        },
        "dependency2": {
            "version": "1.5.2",
            "resolved":
"https://registry.npmjs.org/dependency2/-/dependency2-1.5.2.tgz",
            "integrity":
"sha512-WOn21V8AhyE1QqVfPIVxe3tupJacq1xGkPTB4iagT6o+P2cAgEOOwIxMftr4+ZCTI6d551ij9j61DFr0nsP2uQ=="
        }
    }
}
package-lock.json is crucial for locking dependencies to specific versions, ensuring consistent installations across different environments. Without it, variations in installed versions may occur. This file guarantees reproducibility by specifying exact versions, preventing discrepancies. Including both package.json and package-lock.json in source control ensures that collaborators install the exact dependencies, maintaining uniformity.
3)package.json :
The package.json file is the heart of Node.js system.
It is the manifest file of any Node.js project and contains the metadata of the project.
The package.json file is the essential part to understand, learn and work with the Node.js. It is the first step to learn about development in Node.js.
What does package.json file consist of?
The package.json file contains the metadata information. This metadata information in package.json file can be categorized into below categories.
Identifying metadata properties: It basically consist of the properties to identify the module/project such as the name of the project, current version of the module, license, author of the project, description about the project etc.
Functional metadata properties: As the name suggests, it consists of the functional values/properties of the project/module such as the entry/starting point of the module, dependencies in project, scripts being used, repository links of Node project etc.
Create a package.json file: A package.json file can be created in two ways.
- Using npm init: Running this command, system expects user to fill the vital information required as discussed above. It provides users with default values which are editable by the user.
Syntax:
npm init
- Writing directly to file : One can directly write into file with all the required information and can include it in the Node project.
Example: A demo package.json file with the required information.
{
  "name": "GeeksForGeeks",
  "version": "1.0.0",
  "description": "GeeksForGeeks",
  "main": "index.js",
  "scripts": {
    "test": "echo \"Error: no test specified\" && exit 1",
    "start": "node start.js",
  },
  "engines": {
    "node": ">=7.6.0",
    "npm": ">=4.1.2"
  },
  "author": "GeeksForGeeks",
  "license": "ISC",
  "dependencies": {
    "body-parser": "^1.17.1",
    "express": "^4.15.2",
    "express-validator": "^3.1.2",
    "mongoose": "^4.8.7",
    "nodemon": "^1.14.12",
  },
  "devDependencies": {},
  "repository": {
    "type": "git",
    "url": "https://github.com/gfg/gfg.git" //sample git repo url
  },
  "bugs": {
    "url": "https://github.com/gfg/gfg/issues"
  },
  "homepage": "https://github.com/gfg/gfg#readme"
}
Explanation:
name: The name of the application/project.
version: The version of application. The version should follow semantic versioning rules.
description: The description about the application, purpose of the application, technology used like React, MongoDB, etc.
main: This is the entry/starting point of the app. It specifies the main file of the application that triggers when the application starts. Application can be started using npm start.
scripts: The scripts which needs to be included in the application to run properly.
engines: The versions of the node and npm used. These versions are specified in case the application is deployed on cloud like heroku or google-cloud.
keywords: It specifies the array of strings that characterizes the application.
author: It consist of the information about the author like name, email and other author related information.
license: The license to which the application confirms are mentioned in this key-value pair.
dependencies: The third party package or modules installed using.
npm: are specified in this segment.
devDependencies: The dependencies that are used only in the development part of the application are specified in this segment. These dependencies do not get rolled out when the application is in production stage.
repository: It contain the information about the type and url of the repository where the code of the application lives is mentioned here in this segment.
bugs: The url and email where the bugs in the application should be reported are mentioned in this segment.
Whats Next ?
Express Framework
